My Little Cluster
I’m someone who prefers hands-on experience before diving into the manual. So, before I felt confident enough to write this post about GitOps, I deployed a small Kubernetes cluster on my Mac and experimented with it. The practical experience gained from setting up and managing the cluster provided me with valuable insights into the workings of GitOps. This hands-on approach not only deepened my understanding but also gave me the confidence to share my knowledge with others.
I have created a repository with the configuration files for the cluster and the applications that I deployed on it. You can find it here. The README file in the repository should be enough to get you started if you want to try it out yourself. This repository serves as a practical guide and a starting point for anyone interested in exploring Kubernetes and GitOps.
Setting up the cluster
Prerequisites:
- Install Minikube
- Install Helm
- Install Python
After I run the main.py script, it ensures that minikube is up. Then, helm ensures that all necessary repositories are known. From that point, we’re running commands inside the minikube_tunnel decorator, which opens a tunnel to the Minikube cluster, so we can access the services from the host machine. This setup enables the seamless interaction with the cluster and its services.
@contextmanager
def minikube_tunnel():
    os.system("minikube tunnel &")
    try:
        yield
    finally:
        os.system("pkill -f 'minikube tunnel'")
And the logic goes like this:
with minikube_tunnel():
    configure_gitea()
    configure_infra_repo()
    configure_argo()

    input("Press ENTER to exit and stop minikube tunnel")
I’ll be using k9s to observe the state of the cluster and the applications. It’s a terminal-based UI for Kubernetes clusters, which I find very useful if I’m not in need of calling kubectl commands directly. The k9s interface provides a real-time view of the cluster’s state and the applications running within it, ma king it easier to monitor and manage the cluster.
Initial state of Minikube
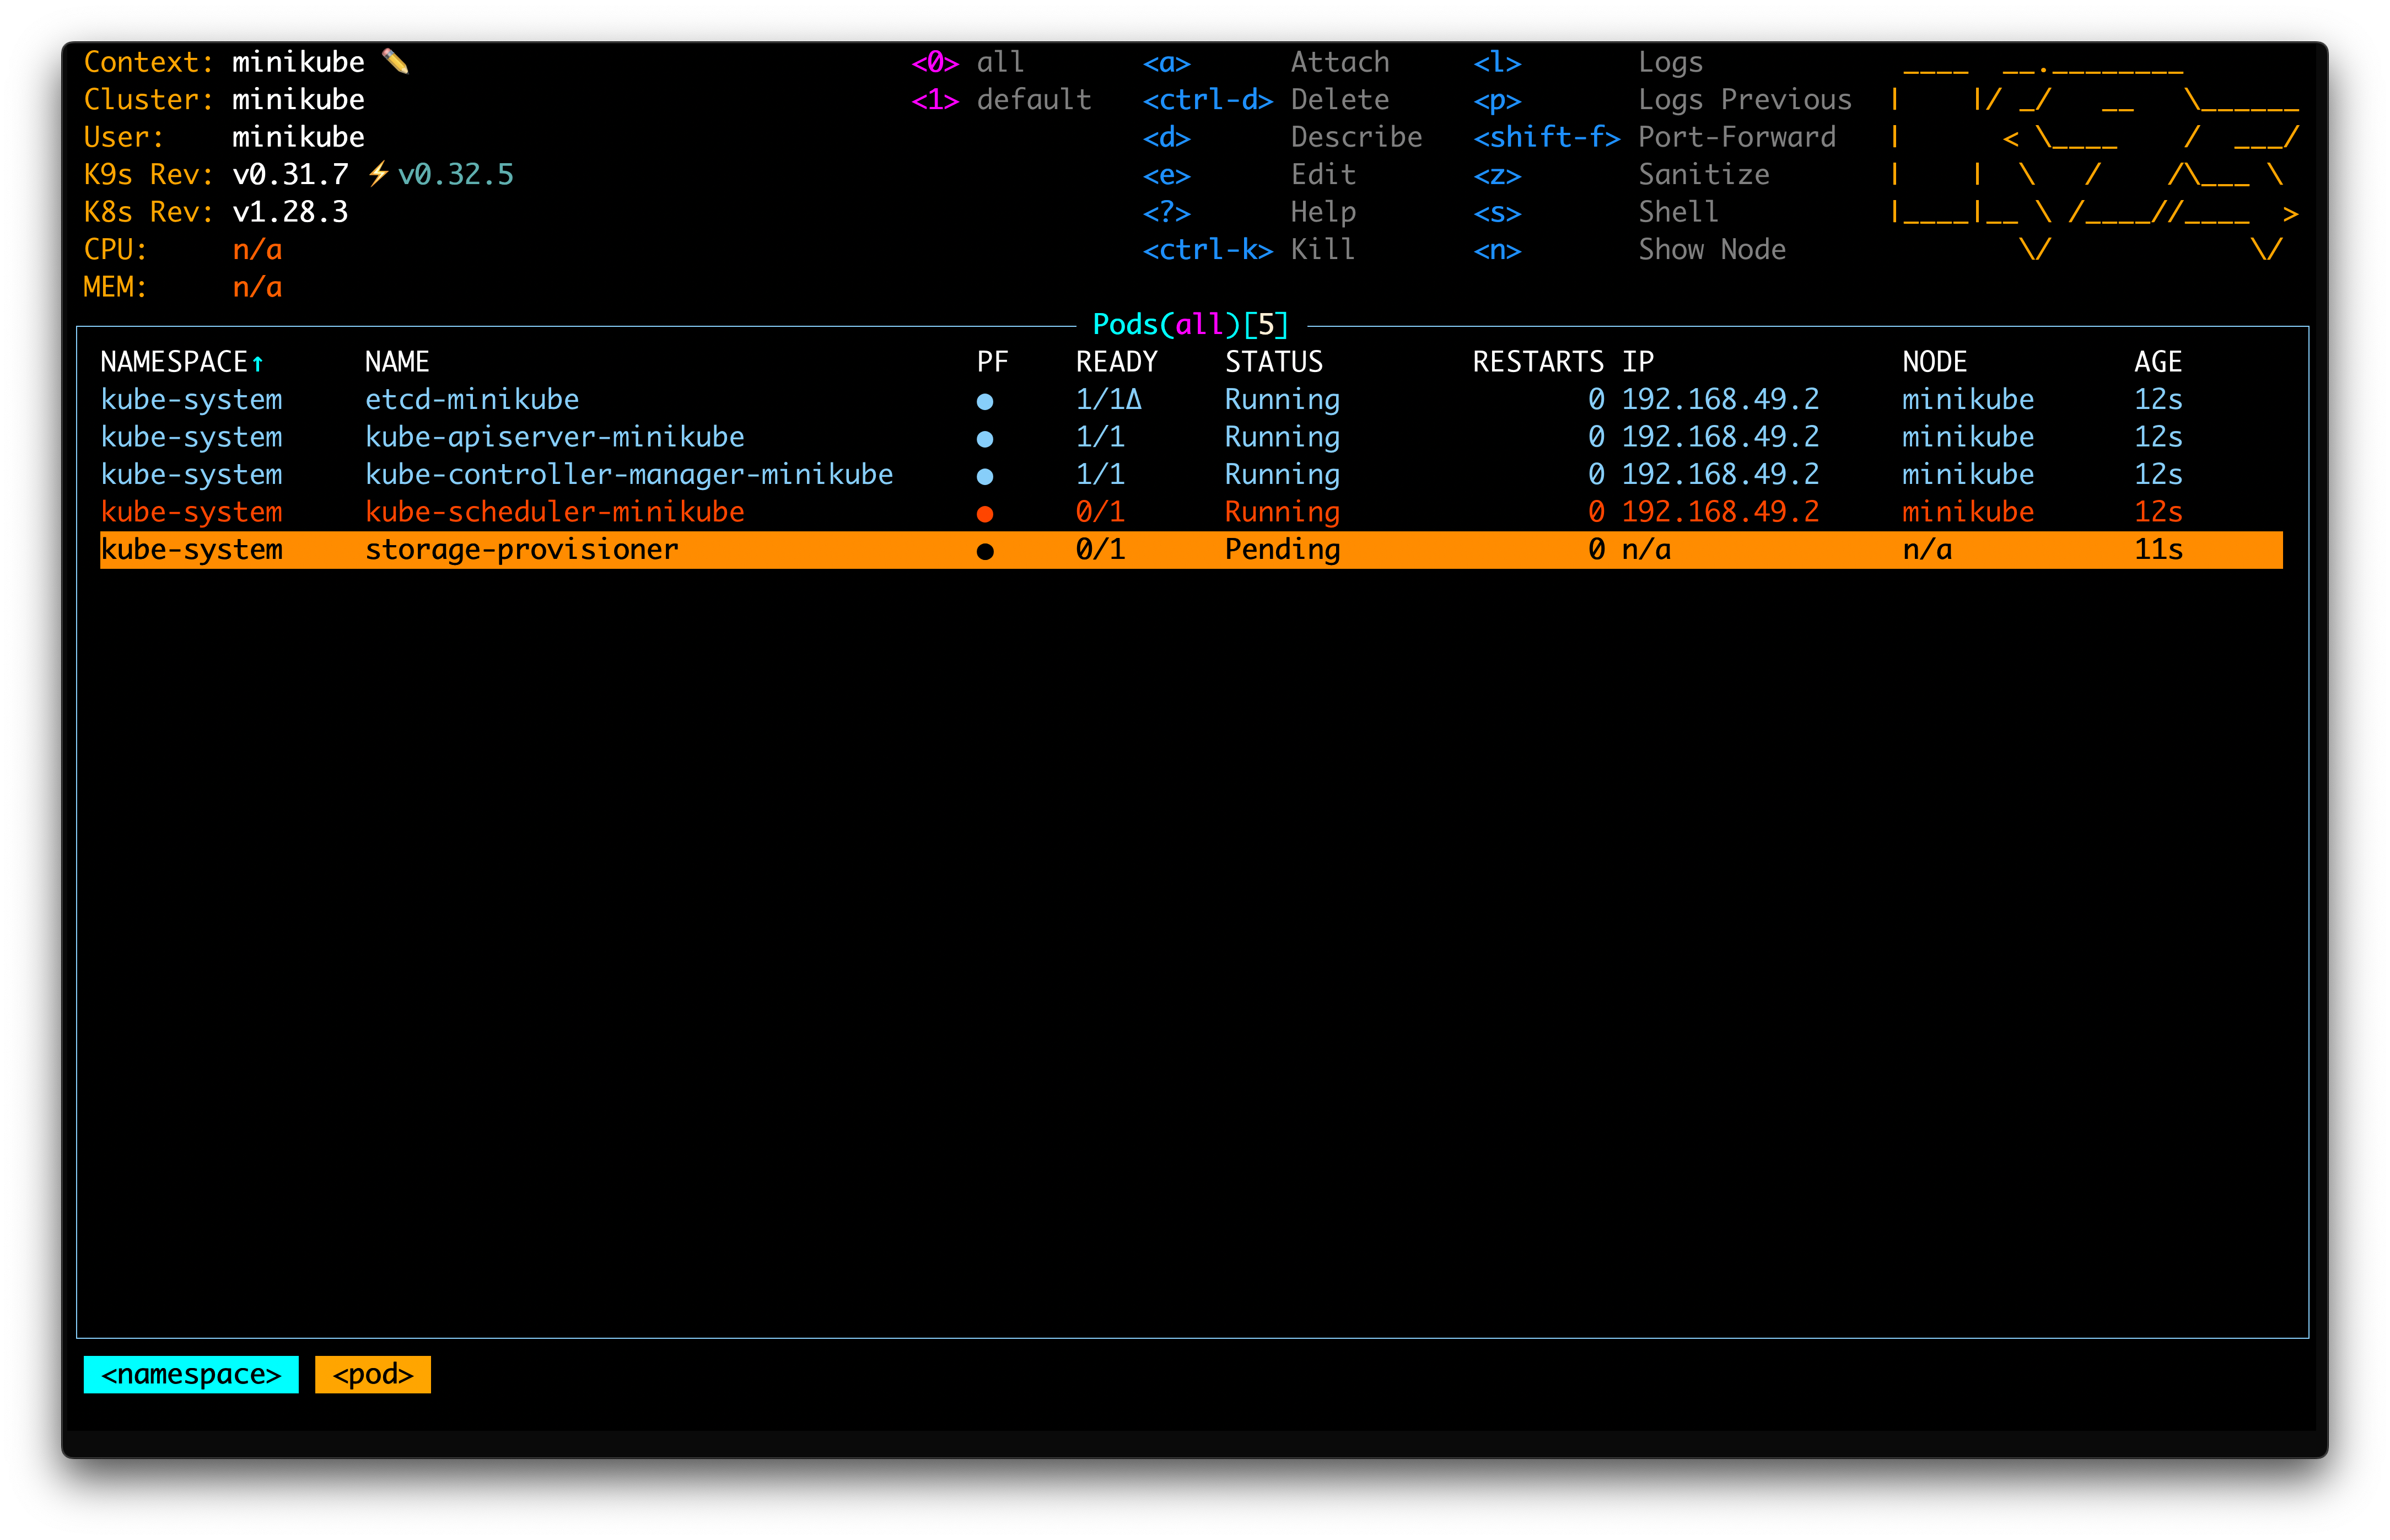
First, you can see below the initial state of Minikube. It sets up the kube-apiserver, etcd, storage provisioner, and other internal components. These components are essential for the operation of the cluster, providing the necessary infrastructure for deploying and managing applications.
Configuring Gitea
Once the storage provisioner is up, Gitea can spin up the deployment because Gitea’s PostgreSQL is ready to store the data. The Helm chart used for Gitea sets up the PostgreSQL database and Gitea server that connects to it.
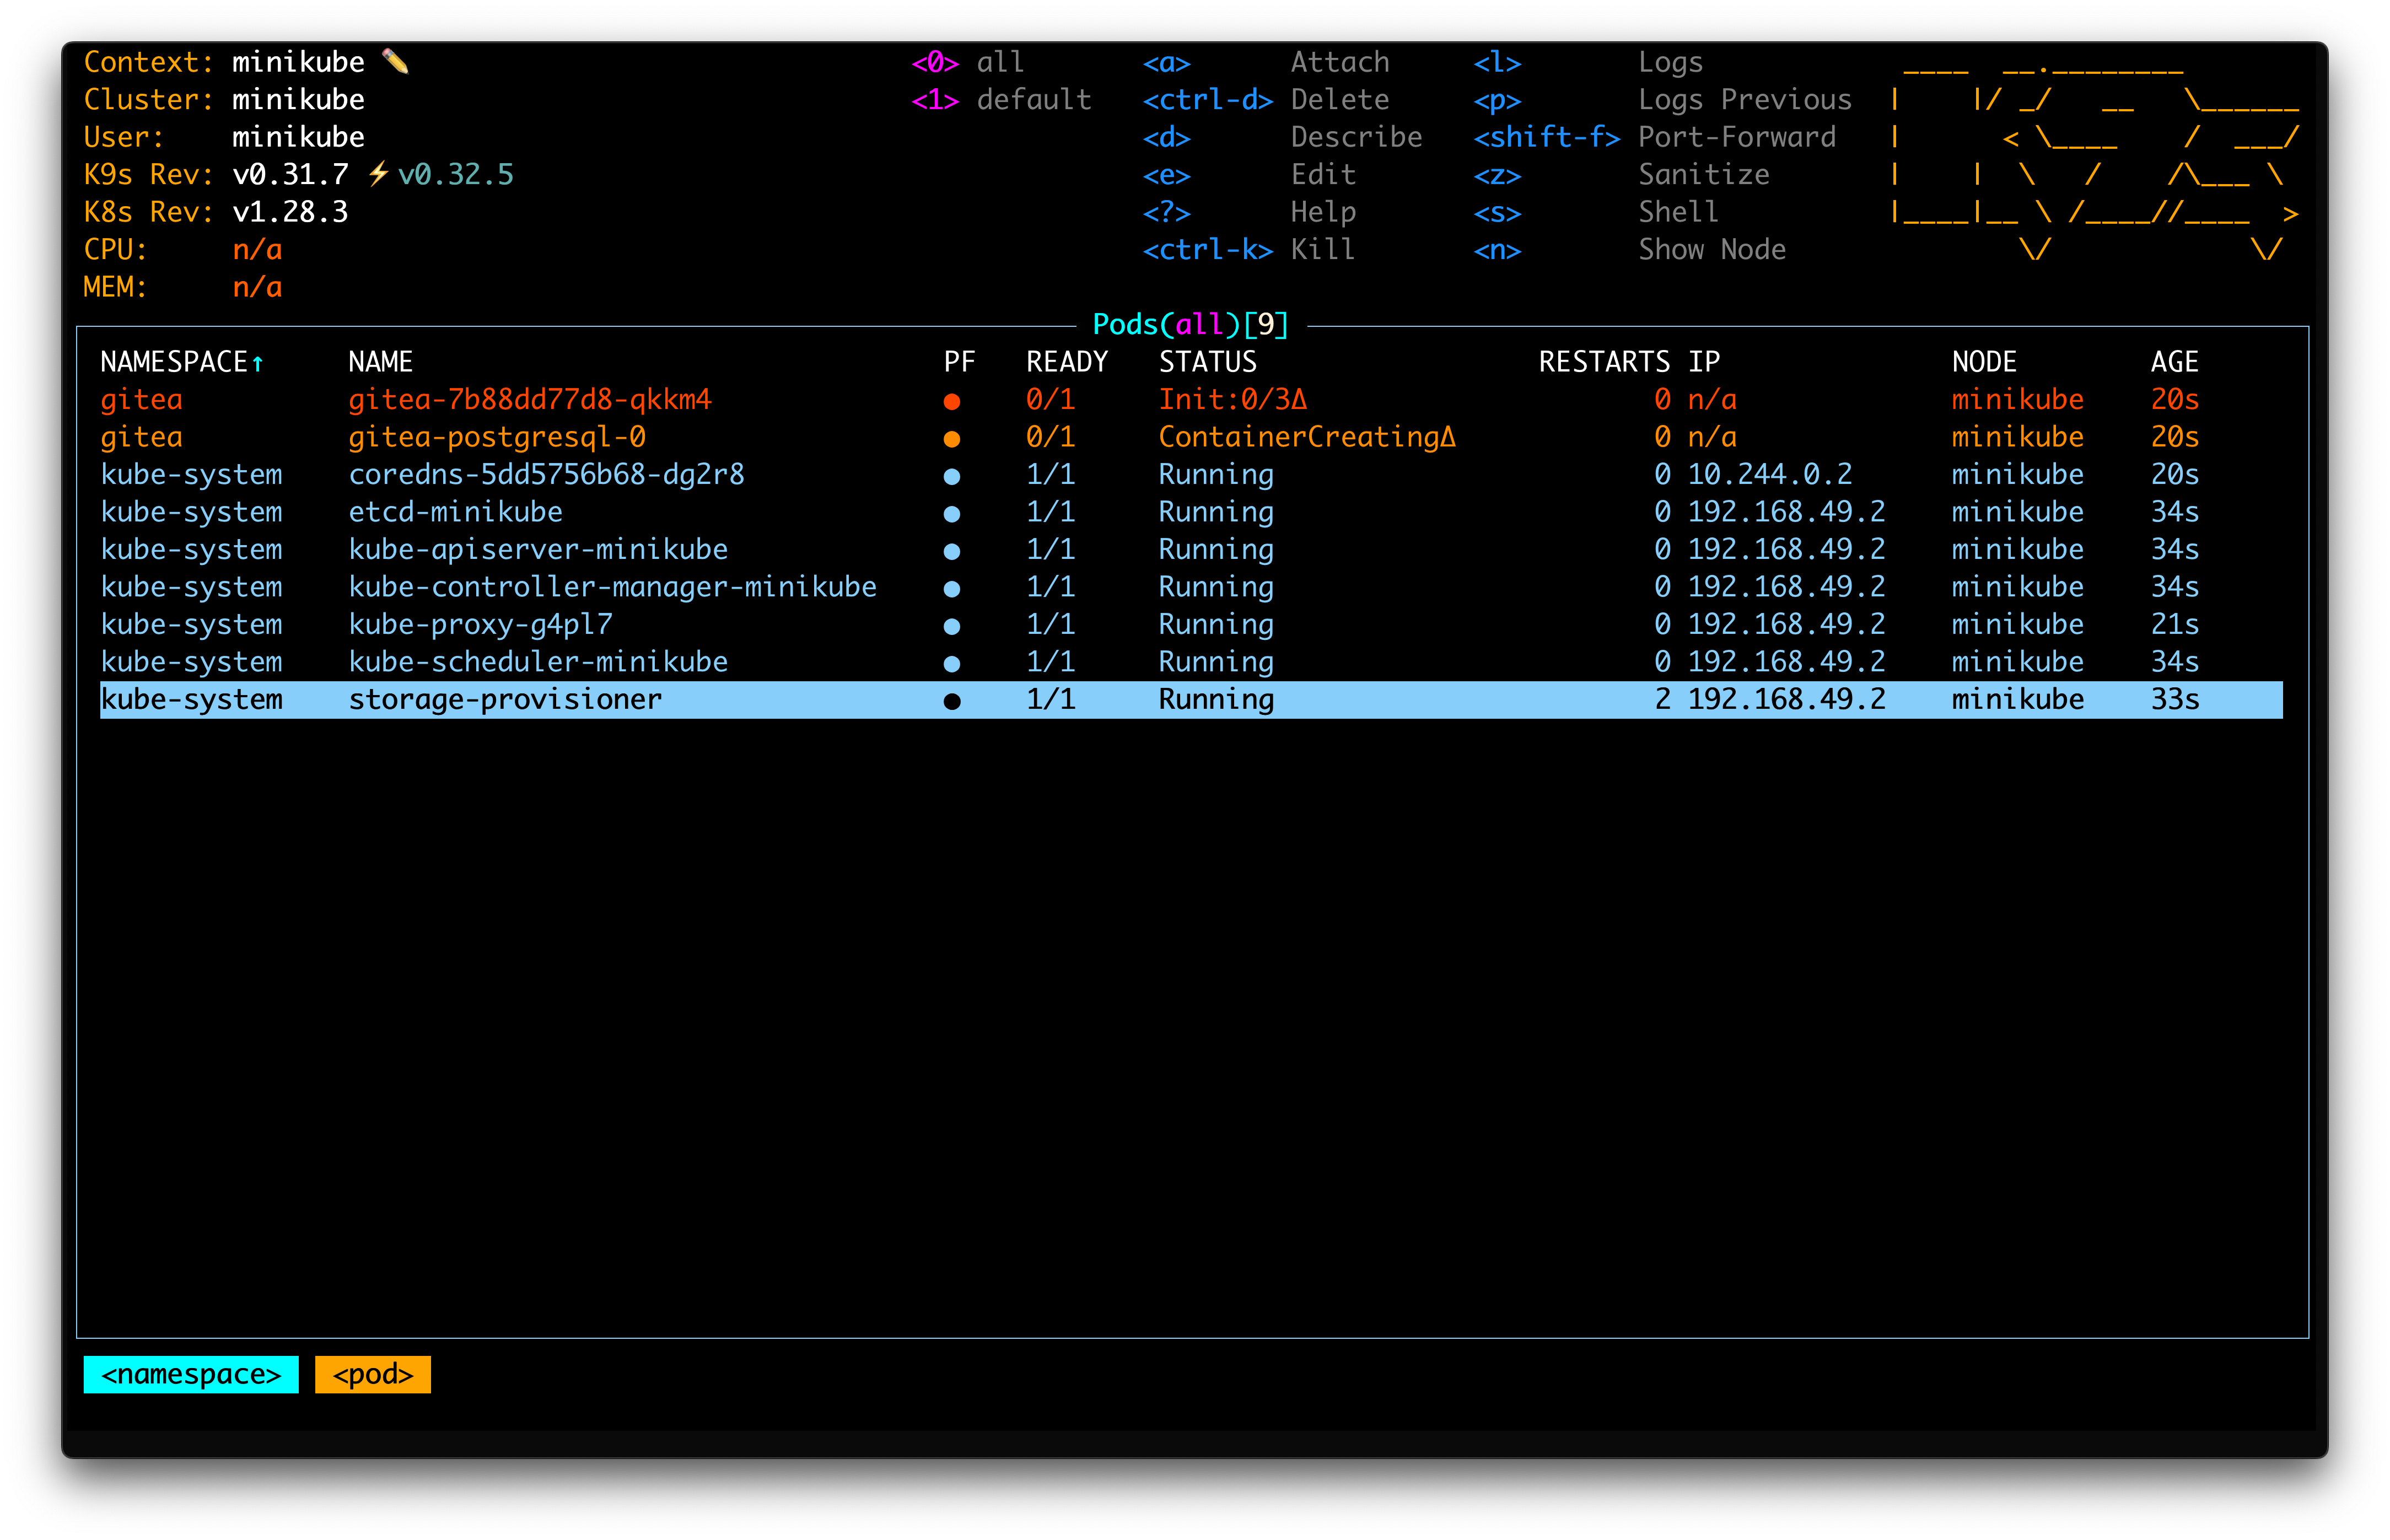
After the script detects if Gitea is ready (by using kubectl wait), it sets up the infra repository in the Gitea via some cURLs. The repo contains the k8s manifests for the application that will be deployed.
Setting up ArgoCD
After the Gitea is set up, the script continues to set up ArgoCD, which connects to the Gitea repository and deploys the applications defined in it.
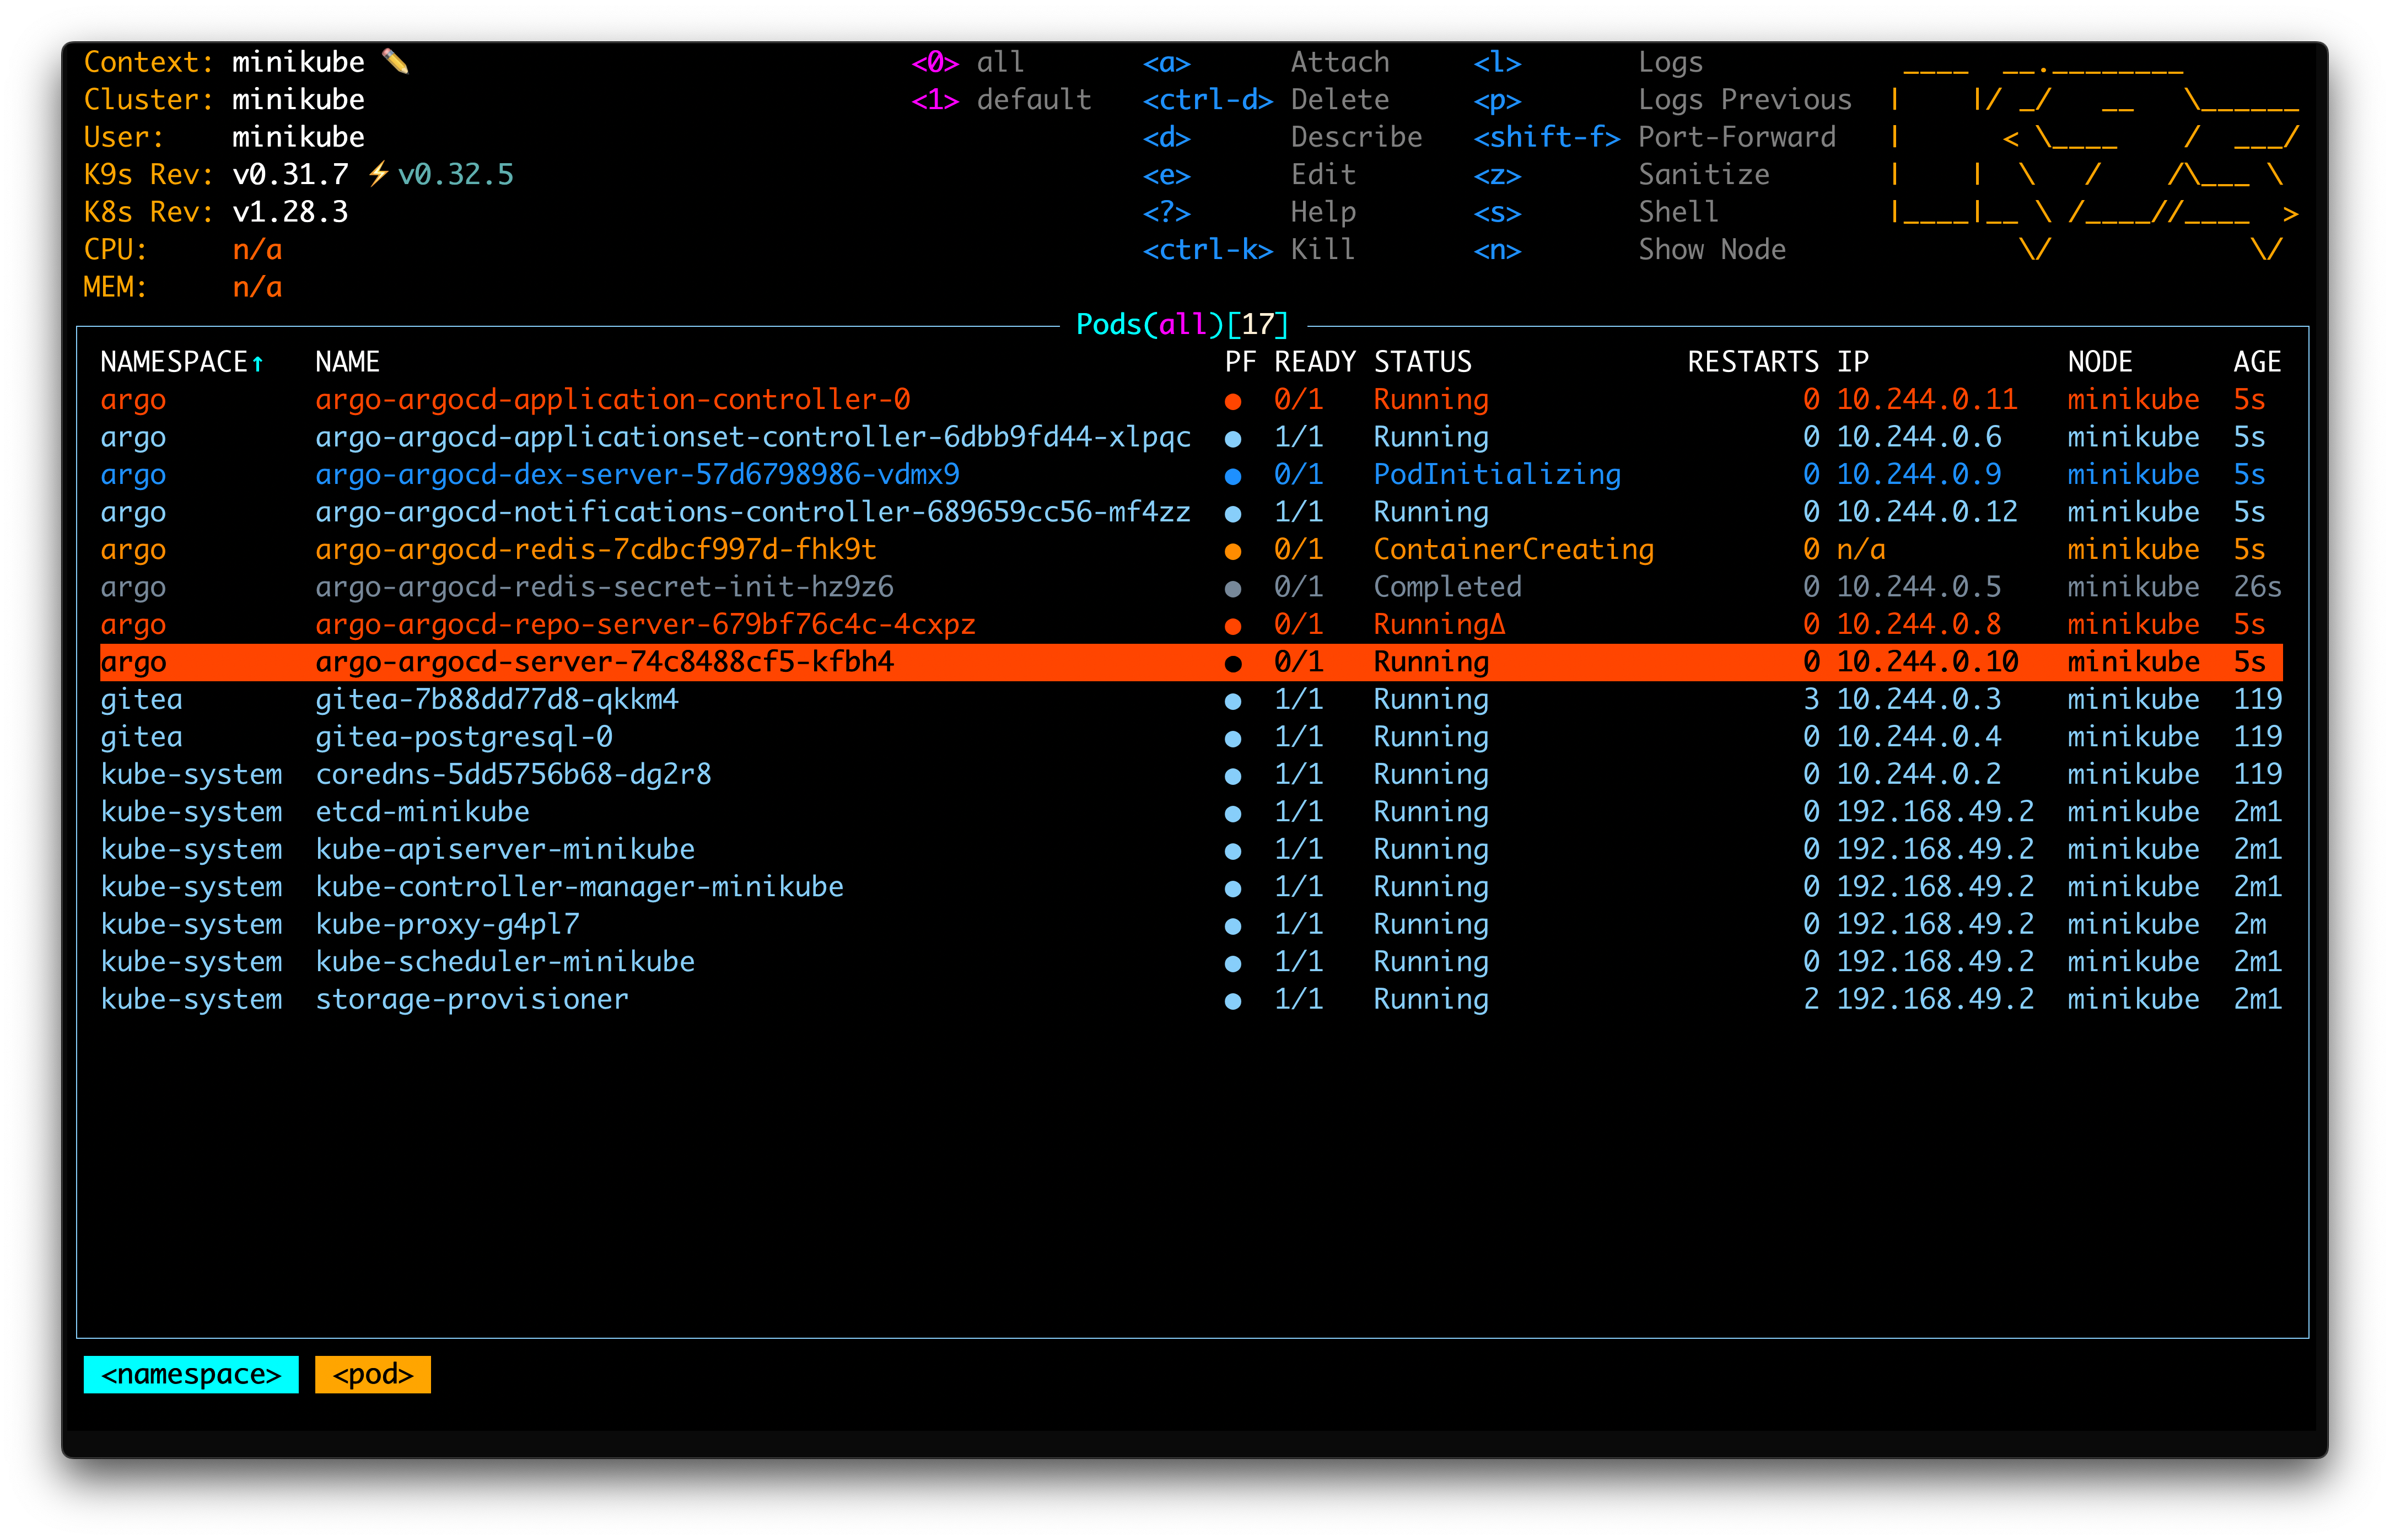
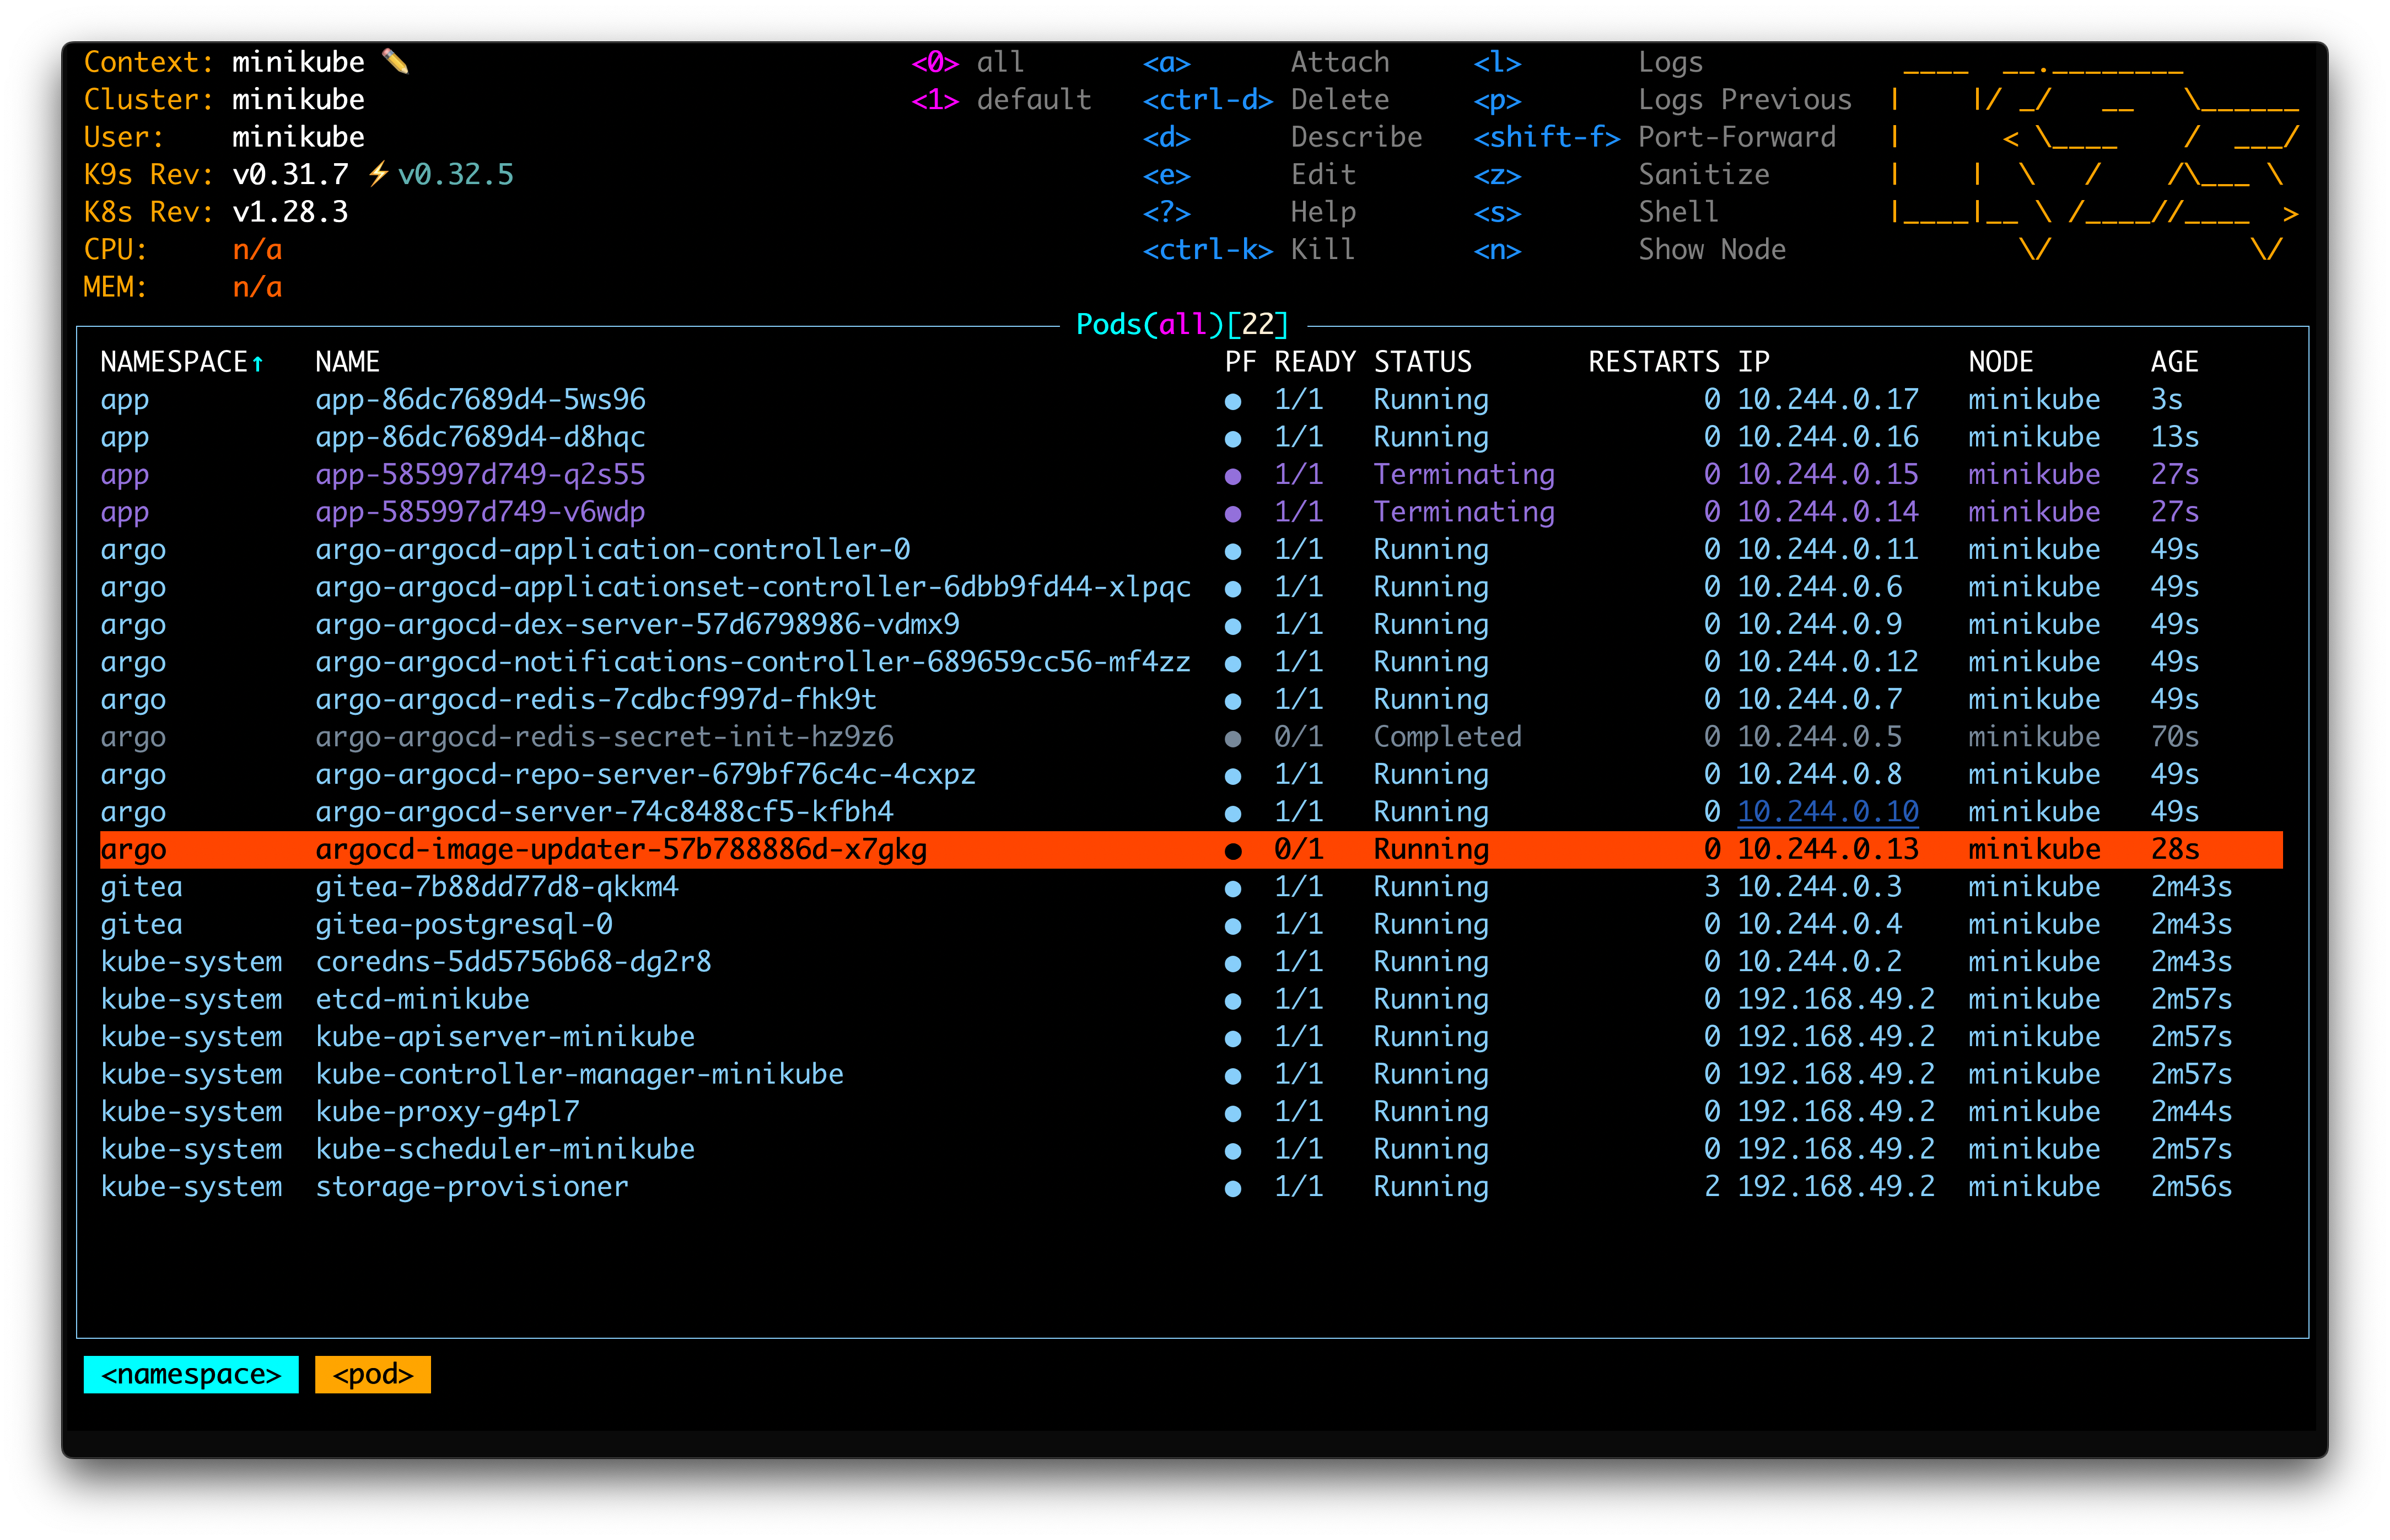
When it’s up, the argo application k8s manifest is applied to the cluster, and the ArgoCD Image Updater is deployed. The Image Updater ensures that the application images are up-to-date, adhering to the specified version constraints. The idea was described in the previous post.
At some point, after ArgoCD Image Updater starts, you can observe the application redeploying with the new image. This is because the version in the Helm chart (src/infra/values.yaml) is 6.6.2 but the image updater has constraints ~6.5.0, so 6.5.4 is deployed.
If at any point in time, the new patch comes to 6.5.*, the image updater will deploy it automatically.
User Interface
This is how Argo’s UI shows the application, providing a visual representation of the application’s state and its dependencies. The UI makes it easier to manage and troubleshoot applications, offering a clear overview of the deployment status and any issues that may arise.
If you want, you can talk with Argo via the CLI, but the UI is a bit more user-friendly and provides a better understanding of the application’s state.
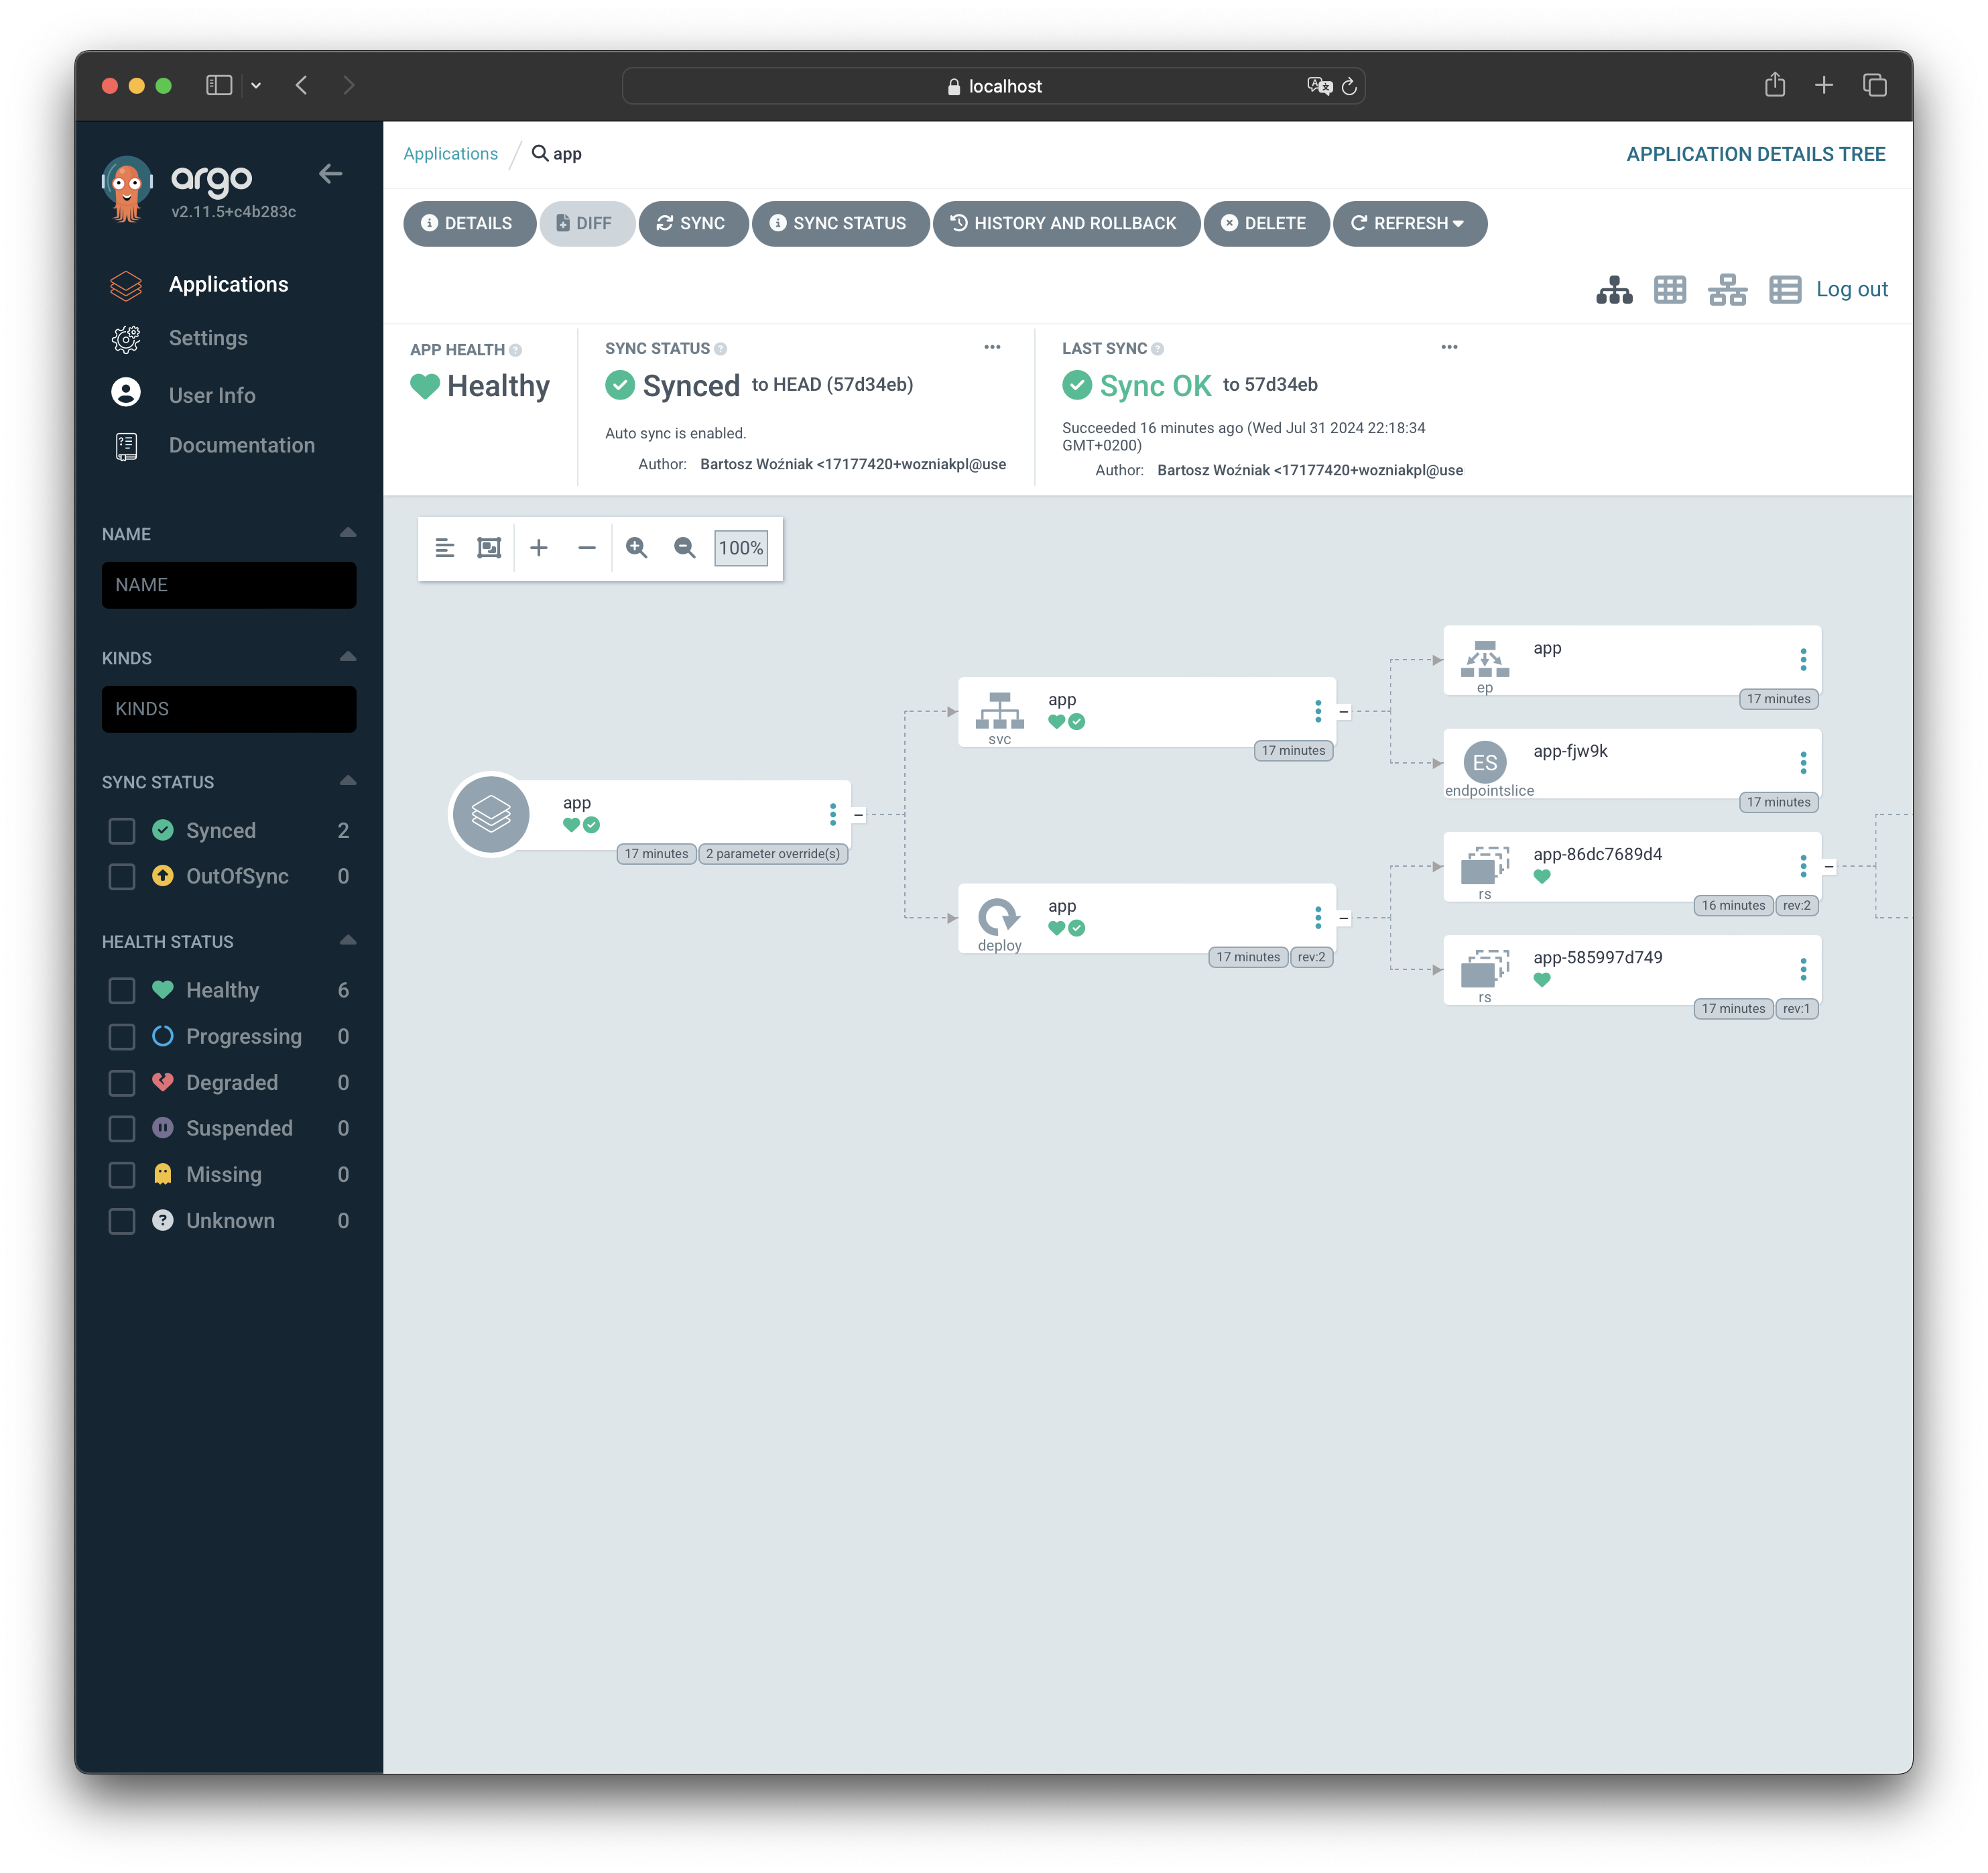
You can see that there are two replicasets for the app - first one that was deployed with the initial version (6.6.2) and the second one that was deployed with the changed version (6.5.4). The second one has currently 2 pods running, while the first one has 0.
Conclusion
It wasn’t that hard to set up the cluster and deploy the applications. The script automates the process, making it easier to reproduce the setup and experiment with different configurations. The hands-on experience gained from setting up the cluster and deploying the applications provided valuable insights into the workings of GitOps, enabling me to understand the concepts better and share my knowledge with others.
I hope that this post has inspired you to try it out yourself and explore the possibilities of Kubernetes and GitOps.
If you’ve made it this far, you might be interested in trying it out yourself. Make sure that you have Minikube, Helm, and Python installed, and you can run the following command to get started:
git clone https://github.com/wozniakpl/argo-demo.git && cd argo-demo && python3 main.py
Wait till you see the Press ENTER... message, and then you can access the Gitea and ArgoCD UIs. The Gitea UI is available at http://localhost:3000 and the ArgoCD UI at https://localhost:8443. Credentials for Gitea are admin:admin and for ArgoCD are visible in the terminal, line starting with Credentials: